Mastering Your Ghost Face Drawing: Tips For Spooky Art
Are you feeling the creative pull to sketch something truly iconic, perhaps a chilling mask that has haunted screens for decades? A ghost face drawing offers a unique chance to capture that eerie, unsettling vibe we all know. It’s a fun way to express your artistic side, and honestly, it's pretty satisfying to get that blank stare just right.
Drawing this famous mask, you know, the one from those classic horror films, is a popular pick for artists of all skill levels. There's something about its simple yet effective design that makes it a fascinating subject. It’s a great exercise in working with shape, shadow, and that subtle feeling of dread, too.
This guide will walk you through the steps to create your very own ghost face drawing, whether you're just starting out or looking to sharpen your skills. We'll look at what makes this image so striking and how you can bring it to life on paper or screen. So, let's get those art supplies ready, shall we?
Table of Contents
- Understanding the Ghost Face Mask
- Getting Started with Your Drawing
- Step-by-Step Ghost Face Drawing Guide
- Tips for Making Your Drawing Stand Out
- Common Questions About Ghost Face Drawing
- Conclusion
Understanding the Ghost Face Mask
Before you even pick up a pencil, it really helps to get a feel for what makes the Ghostface mask so effective. It's more than just a white mask; it's a symbol, you know? That simple, almost expressionless look actually hides a lot of unsettling feelings.
Why It's So Recognizable
The mask's fame comes from its connection to a long-running film series. It’s pretty much everywhere during certain times of the year, especially around Halloween. Its design is, in a way, very clever because it's both generic and incredibly specific at the same time, which is rather unique.
It taps into a basic human fear, that of the unknown, or someone hiding their true self. The mask has no real facial features, just hollowed-out spaces, and that lack of expression is, quite frankly, very scary. It's a bit like seeing a blank slate, and your mind fills in the blanks, often with something unsettling.
The dark eyes and the elongated, almost screaming mouth create a stark contrast against the pale face. This simple visual trick is, actually, a big part of why it sticks in people's minds. It’s a very effective design, you see.
Key Features to Focus On
When you're doing a ghost face drawing, there are a few things that are super important to get right. The overall shape of the mask is a bit like a stretched oval, but it has these distinct angles. You really want to capture that specific form, you know?
The eyes are probably the most telling part. They aren't just round holes; they're more like elongated, shadowy slits that dip down slightly at the outer corners. This gives the mask its signature empty stare. Getting these just right is, frankly, a big deal.
Then there's the mouth. It's not a smile or a frown; it's a wide, open "scream" shape that stretches across the lower part of the mask. This mouth is usually very dark, almost a void. The way it warps the lower face is also a key detail, you know?
Finally, consider the subtle ridges and folds. The mask isn't perfectly smooth; it has some texture, especially around the eyes and mouth, which suggests the fabric or material it's made from. These small details can, in some respects, make your drawing feel much more real.
Getting Started with Your Drawing
Every good drawing starts with the right setup, and a ghost face drawing is no different. You want to feel comfortable and have everything you need close by. It's like preparing for any project, you know, getting your tools in order.
Choosing Your Tools
For traditional drawing, a few basic items will get you going. A good set of pencils, maybe some B grades for darker lines and H grades for lighter sketches, is a smart move. Erasers are also your best friend, especially a kneaded one for gentle lifts. Paper that can handle some shading is also pretty good, too.
If you're leaning towards digital art, any drawing tablet or even a modern smartphone with a stylus can work wonders. Apps like Procreate, Clip Studio Paint, or even basic drawing programs on a computer are good starting points. The ability to undo and layer is, honestly, a huge plus in digital art.
It’s a bit like how some people prefer to print their documents on a specific type of paper for the best look, while others might just scale a PDF up to A4 size for a quick view. Your choice of medium for your ghost face drawing is about what feels right for you and what kind of finish you want, you know?
Basic Shapes and Proportion
Before you get into the fine details, it's really helpful to sketch out the main shapes. Think of the mask as a slightly squashed egg or an oval. This initial shape helps you place everything else correctly. It's like building a house, you start with the foundation, you know?
Lightly sketch a vertical line down the middle of your oval and a horizontal line across it. These lines will help you keep the mask symmetrical and ensure the eyes and mouth are in the right places. Proportion is, in some respects, everything in drawing, especially for recognizable characters.
The eyes sit above the horizontal line, and the mouth below. The key is to get the spacing right between them and from the edges of the mask. A little bit of planning here saves a lot of erasing later, which is pretty much always true for drawing, you see.
Step-by-Step Ghost Face Drawing Guide
Now, let's get into the actual drawing process. Take your time with each step. There's no rush to get it perfect on the first try, you know? Drawing is a process of building up layers and refining as you go, which is pretty much how it works.
Step 1: The Overall Head Shape
Start with a light, loose sketch of the mask's basic outline. It's like a slightly elongated, somewhat uneven oval. Don't press too hard with your pencil; these are just guide lines. You can always adjust them later, which is good, right?
Think about the general size you want your ghost face drawing to be on your paper or canvas. Making it too small might make details hard, while too big might feel overwhelming. It's about finding a good balance, you know?
Add a very faint centerline, running vertically down the middle of your oval. This helps keep things even. It's a simple trick that, honestly, makes a big difference for symmetry. You want the mask to look balanced, after all.
Step 2: Placing the Eyes and Mouth
Next, lightly sketch in the positions for the eyes. They are not just circles; they are more like stretched, somewhat almond shapes, typically pointing slightly downwards at the outer edges. Place them roughly in the upper half of your mask shape. This is, in a way, the most important part to get the expression right.
For the mouth, draw a wide, somewhat wavy line that arcs downwards, almost like a sad, stretched smile. This will be the top edge of the screaming mouth. It stretches across the lower half of the mask. You want to make sure it feels wide enough, you know?
Add a horizontal guide line that runs through the middle of where the eyes will be. This helps ensure both eyes are at the same height. It's a bit like making sure your margins are fine when you view a file, before you try to print it, you see?
Step 3: Defining the Features
Now, start to refine the shapes of the eyes. Make them darker and more defined, giving them that hollowed-out, shadowy look. The inner corners are usually a bit sharper, while the outer corners can be a little softer or more elongated. This is where the mask's true feeling starts to show, you know?
For the mouth, complete the scream shape by adding the lower edge. It should mirror the top curve but be slightly wider, giving it that stretched, open look. Make this area very dark, almost completely black. This contrast is, frankly, very important for the mask's appearance.
Add the nose area, which is typically a simple, almost triangular shadow or a slight indentation between the eyes. It's not a prominent feature, but it helps break up the face and add a bit of structure. It’s a subtle detail, but it matters, you know?
Step 4: Adding Depth and Shadows
This is where your ghost face drawing really starts to pop. Use shading to create the illusion of depth. The eyes and mouth should be the darkest areas, almost pure black. This makes them feel like empty voids, which is, honestly, a big part of the mask's creepiness.
Add subtle shadows along the edges of the mask, especially where it might curve away from the viewer. Think about where light would hit and where shadows would naturally fall. A little bit of shading under the chin area can also help make the mask feel three-dimensional, you know?
Use cross-hatching or blending techniques to build up your shadows. Don't be afraid to go dark. The contrast between the bright white of the mask and the deep shadows is what gives it its impact. It's a bit like using gradient information in an image to blend it, creating a smooth transition, you see?
Step 5: Refining and Finishing
Once your main shapes and shadows are in place, take a step back and look at your ghost face drawing. Are the proportions right? Does it feel balanced? Now is the time to make any final adjustments to lines or shading. You can use your eraser to clean up stray marks or lighten areas that are too dark, you know?
Add any subtle textures or small details that you notice on reference images of the mask. This could be tiny creases or slight imperfections that make it feel more real. These small touches can, in some respects, make a big difference.
If you're using color, now's the time to add it. The mask is primarily white, but it often has subtle blue or gray tones in the shadows, and of course, the black of the eyes and mouth. A bit of white highlight can also make it shine, which is pretty cool.
Tips for Making Your Drawing Stand Out
Beyond the basic steps, there are ways to add your own flair to your ghost face drawing. Making it uniquely yours is, after all, part of the fun of art. You can really make it your own, you know?
Playing with Expression
While the classic Ghostface mask is somewhat expressionless, you can subtly alter it to give it a different feel. Maybe tilt the head slightly, or make one eye a tiny bit wider than the other. These small changes can, honestly, give your drawing a different mood.
Consider the angle you draw it from. A straight-on view is classic, but drawing it from a low angle can make it seem more imposing. A slightly turned head can add a sense of movement or observation. It’s a bit like how a photograph can change its whole feeling just by changing the camera's position, you see?
You could even experiment with different interpretations of the "scream" mouth. What if it's more distorted, or stretched in a new way? Pushing the boundaries of the design can be very rewarding, you know?
Backgrounds and Context
A simple, dark background can make the white mask pop even more. Or, you could place the mask in a setting that adds to its eerie nature, like a shadowy hallway or a moonlit forest. The background really helps tell a story, you know?
Think about adding elements that hint at the mask's origins without being too obvious. Maybe a subtle knife outline in the background, or a phone ringing in the distance. These small hints can, in some respects, make your ghost face drawing feel like part of a larger scene.
Even just a textured background, like a rough wall or a misty effect, can add a lot of atmosphere. It’s all about creating a feeling around your main subject, you see.
Digital vs. Traditional Art
Both digital and traditional methods have their own perks for a ghost face drawing. Digital tools offer endless colors, easy corrections, and the ability to scale your work without losing quality, much like scaling a PDF for different print sizes. You can, for example, try out different looks very quickly.
Traditional art, on the other hand, gives you that tactile feel of pencil on paper, the smell of paint, and the unique textures that only physical mediums can provide. There's something very satisfying about creating something with your hands, you know? It's a different kind of connection to the art.
Many artists use a mix, sketching traditionally and then scanning their work to finish it digitally. This hybrid approach can give you the best of both worlds. It’s about finding what works for you, and what makes your art feel right, you see.
And when you're done, you can print your ghost face drawing. Just like you might need to print a postscript file for your HP Deskjet, getting your digital art onto paper can be a great way to display it. It’s a physical representation of your hard work, you know?
Common Questions About Ghost Face Drawing
Is Ghostface easy to draw?
For many, the Ghostface mask is a good subject for artists of all levels. Its simple shapes make it fairly approachable. The challenge often comes in getting that specific, eerie feeling just right, which is, in a way, the fun part. You really can start with just basic shapes, you know?
What materials do I need for ghost face drawing?
For traditional art, you just need pencils (different hardnesses like 2B and HB are good), an eraser (a kneaded one is great), and some drawing paper. If you're going digital, a tablet or even a good phone with a stylus and a drawing app will do the trick. It's pretty straightforward, you know?
Can I draw Ghostface in different styles?
Absolutely! While the classic look is iconic, you can definitely experiment. Try a cartoonish version, a highly realistic one, or even a stylized, abstract take. Changing the lighting or adding unique textures can also make it your own. It's your art, after all, so feel free to play around with it, you see?
Conclusion
Creating a ghost face drawing is a cool way to explore your artistic skills, whether you're a beginner or have been drawing for a while. It’s a very recognizable image, and getting it right can be a really satisfying feeling. Remember, art is about having fun and expressing yourself, you know?
Keep practicing, and don't be afraid to try new things or experiment with different looks. Every stroke you make helps you get better. You can always learn more about drawing techniques on our site, and perhaps you'll even be inspired to create something for a modern device, like a cool wallpaper for your phone. Happy drawing!
File:Medieval ghost.jpg - Wikimedia Commons
Funny Ghost Wallpapers - Top Free Funny Ghost Backgrounds - WallpaperAccess
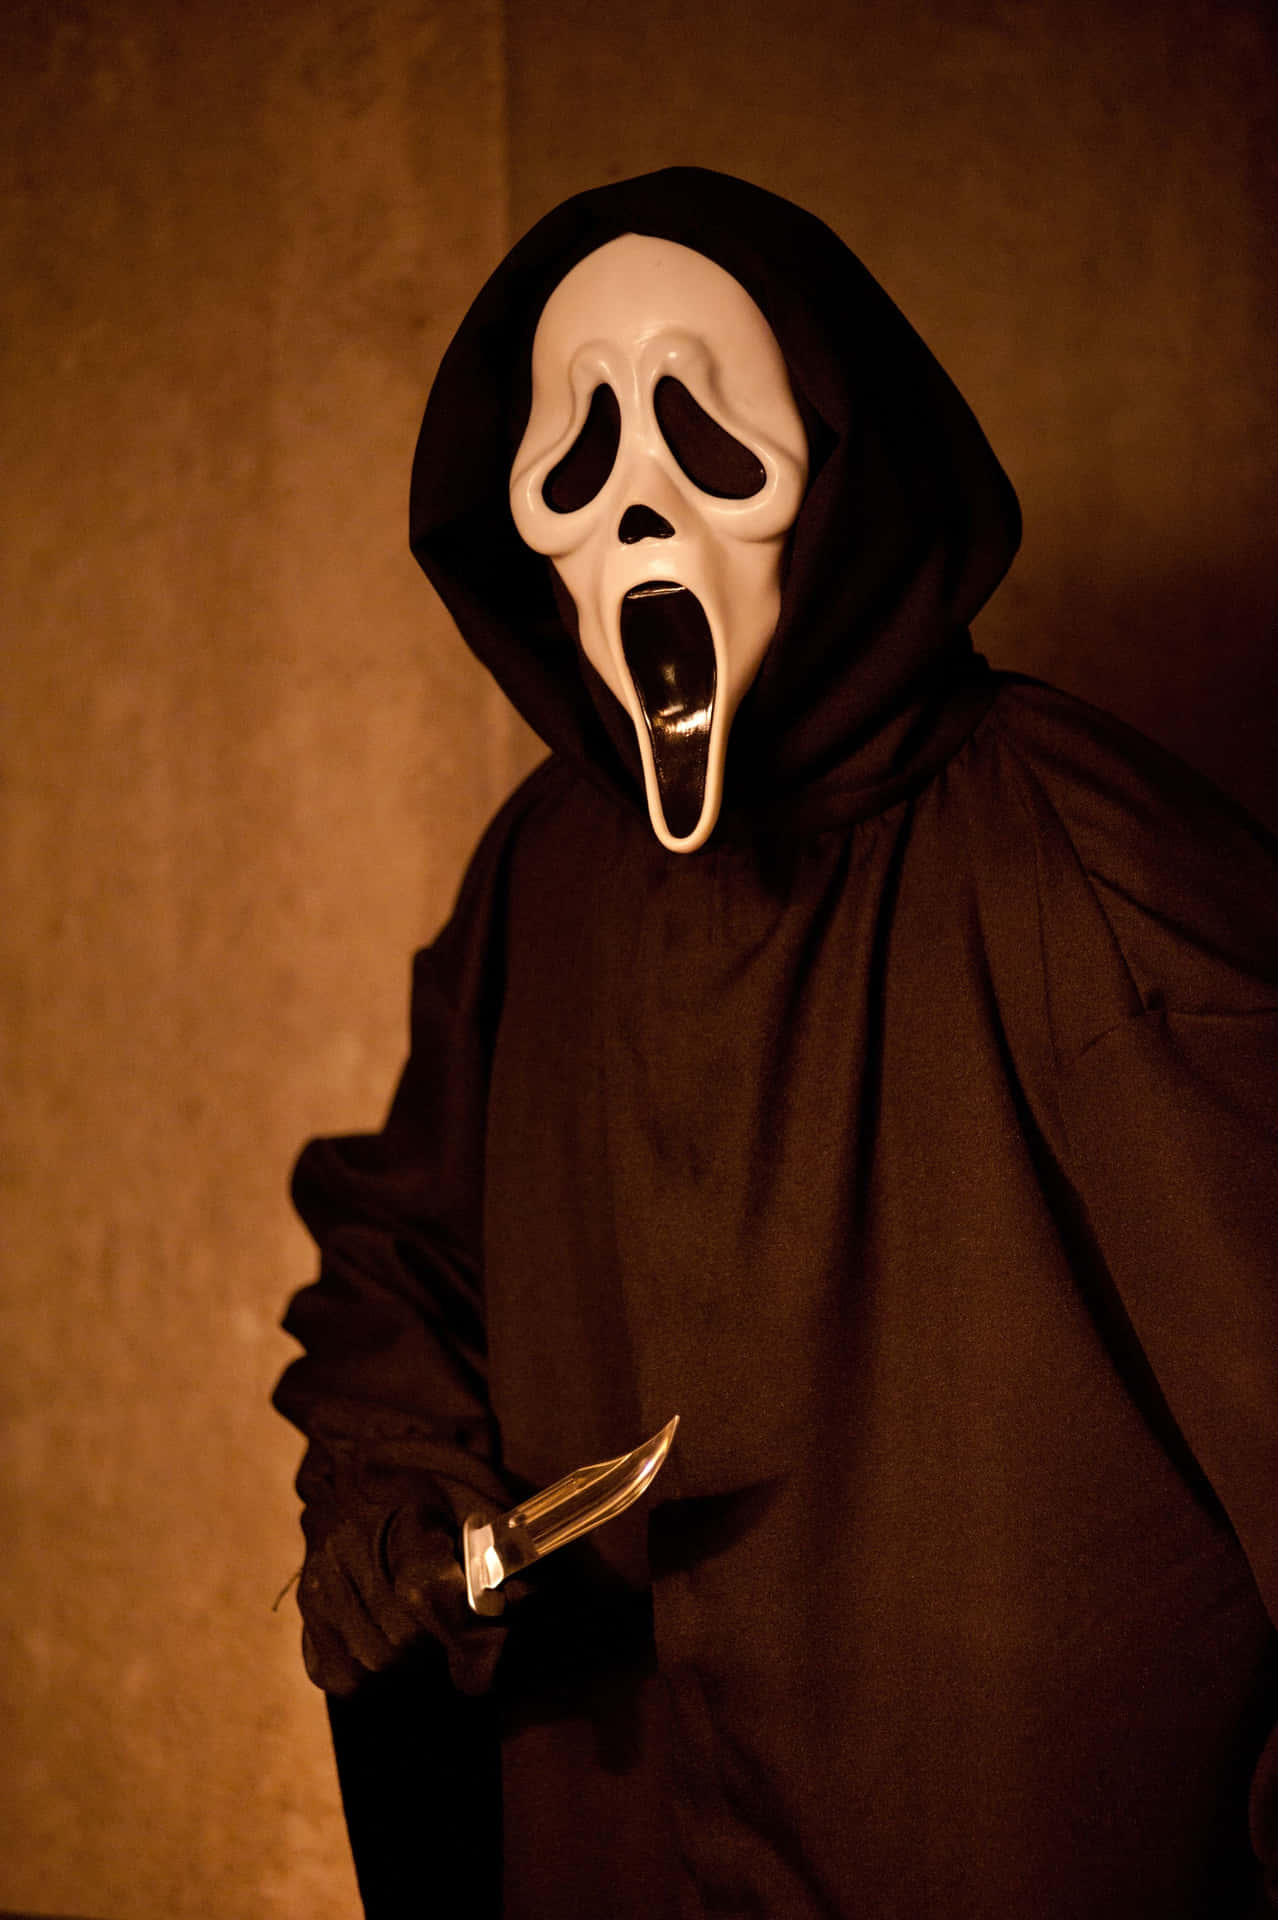
Download Warm Scary Ghost Face Picture | Wallpapers.com
